KLOXO/Lxadmin安装CSF防火墙应对DDOS攻击

一,下载与安装
cd /usr/local/src
wget http://www.configserver.com/free/csf.tgz
tar -zxvf csf.tgz
cd csf
./install.sh
二,CSF的配置
要HypeVm和lxadmin的正常使用,需添加777*,888*和5558端口的支持
1,配置端口(/etc/csf/csf.conf)
增加TCP端口支持(HypeVm和Lxadmin需要):7776,7777,7778,7779,8886,8887,8888,8889,5558
# Allow incoming TCP ports
TCP_IN = "20,21,22,25,53,80,110,143,443,465,587,993,995,7776,7777,7778,7779,8886,8887,8888,8889,5558"
# Allow outgoing TCP ports
TCP_OUT = "20,21,22,25,53,80,110,113,443,7776,7777,7778,7779,8886,8887,8888,8889,5558"
2,打开MONOLITHIC_KERNEL支持(/etc/csf/csf.conf)
# One example is if the ip_conntrack and ip_conntrack_ftp iptables kernel
# modules are not available. If this happens, FTP passive mode (PASV) won't
# work. In such circumstances you will have to open a hole in your firewall and
# configure the FTP daemon to use that same hole. For example, with pure-ftpd
# you could add the port range 30000:35000 to TCP_IN and add the following line
# to /etc/pure-ftpd.conf (without the leading #):
# PassivePortRange 30000 35000
# Then restart pure-ftpd and csf and passive FTP should then work
MONOLITHIC_KERNEL = "1"
3,如果你要能ping同你的HyperVm服务器,需设置(/etc/csf/csf.conf):
# Allow incoming PING
ICMP_IN = "1"
4,如果你使用的是OpenVz虚拟化技术,你需要添加以下语句到您的/etc/csf/csfpre.sh文件:
iptables -A INPUT -i venet0 -j ACCEPT
iptables -A OUTPUT -o venet0 -j ACCEPT
iptables -A FORWARD -j ACCEPT -p all -s 0/0 -i venet0
iptables -A FORWARD -j ACCEPT -p all -s 0/0 -o venet0
注意1:/etc/csf/csfpre.sh可能不存在,你需要新建它。CSF每次运行的时候都会执行这个文件的。
三,测试CSF
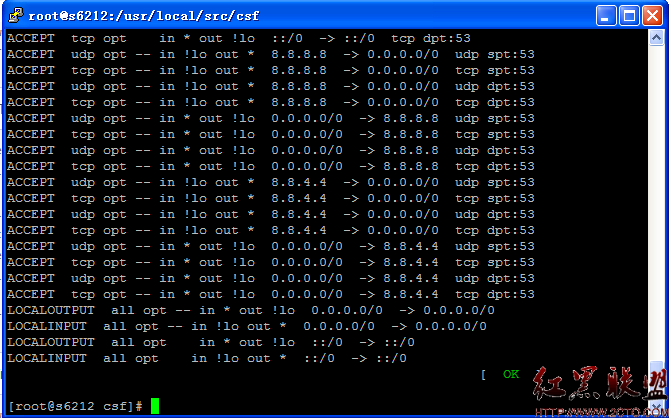
service csf start
如果可以了的话,请关闭测试功能(配置/etc/csf/csf.conf)
# Testing flag - enables a CRON job that clears iptables incase of
# configuration problems when you start csf. This should be enabled until you
# are sure that the firewall works - i.e. incase you get locked out of your
# server! Then do remember to set it to 0 and restart csf when you're sure
# everything is OK. Stopping csf will remove the line from /etc/crontab
TESTING = "0"
四、重启CSF
service csf restart
五、高级配置(配置/etc/csf/csf.conf)
你可以关闭进程和用户进程跟踪。
PT_USERTIME = "0"
PT_LIMIT = "0"
PT_USERPROC = "0"
- 上一篇:简单几个小技巧查找linux入侵证据
- 下一篇:VIM保存语法着色设置
相关文章
图文推荐
- 文章
- 推荐
- 热门新闻


