- 首页 > 资讯 > Android基础教程 > 正文
第98章、WebView组件(从零开始学Android)
WebView很简单,目的就是为了显示网页,而且显示在指定区域中。
(1)LoadUrl直接显示网页内容;
(2)LoadData显示中文网页内容。
(3)setJavaScriptEnabled()支持JavaScript。
一、设计界面
1、布局文件
打开res/layout/activity_main.xml文件。
输入以下代码:
[html] view plain copy
- <?xml version="1.0" encoding="utf-8"?>
- <LinearLayout xmlns:android="http://schemas.android.com/apk/res/android"
- android:orientation="vertical"
- android:layout_width="match_parent"
- android:layout_height="match_parent" >
- <WebView
- android:id="@+id/webview"
- android:layout_width="match_parent"
- android:layout_height="400dip" />
- <Button
- android:id="@+id/show"
- android:layout_width="wrap_content"
- android:layout_height="wrap_content"
- android:text="WebView显示网页" />
- </LinearLayout>
二、程序文件
打开“src/com.genwoxue.webview/MainActivity.java”文件。
然后输入以下代码:
[java] view plain copy
- package com.genwoxue.webview;
- import android.app.Activity;
- import android.os.Bundle;
- import android.view.KeyEvent;
- import android.view.View;
- import android.view.View.OnClickListener;
- import android.webkit.WebView;
- import android.webkit.WebViewClient;
- import android.widget.Button;
- public class MainActivity extends Activity {
- private WebView webview;
- private Button btnShow=null;
- @Override
- public void onCreate(Bundle savedInstanceState) {
- super.onCreate(savedInstanceState);
- setContentView(R.layout.activity_main);
- btnShow=(Button)super.findViewById(R.id.show);
- btnShow.setOnClickListener(new OnClickListener(){
- public void onClick(View v)
- {
- webview = (WebView) findViewById(R.id.webview);
- //设置WebView属性,能够执行Javascript脚本
- webview.getSettings().setJavaScriptEnabled(true);
- //加载需要显示的网页
- webview.loadUrl("http://www.genwoxue.com");
- //设置Web视图:目的是在WebView中打开其他链接仍然显示在此,而不是新开Android默认的浏览器打开新页面
- webview.setWebViewClient(new HelloWebViewClient ());
- }
- });
- }
- @Override
- //设置回退 :目的防止单击手机BACK键退出应用程序
- //覆盖Activity类的onKeyDown(int keyCoder,KeyEvent event)方法
- public boolean onKeyDown(int keyCode, KeyEvent event) {
- if ((keyCode == KeyEvent.KEYCODE_BACK) && webview.canGoBack()) {
- webview.goBack(); //goBack()表示返回WebView的上一页面
- return true;
- }
- return false;
- }
- //Web视图
- private class HelloWebViewClient extends WebViewClient {
- @Override
- public boolean shouldOverrideUrlLoading(WebView view, String url) {
- view.loadUrl(url);
- return true;
- }
- }
- }
三、配置文件
打开“AndroidManifest.xml”文件。
然后输入以下代码:
[html] view plain copy
- <?xml version="1.0" encoding="utf-8"?>
- <manifest xmlns:android="http://schemas.android.com/apk/res/android"
- package="com.genwoxue.webview"
- android:versionCode="1"
- android:versionName="1.0" >
- <uses-sdk
- android:minSdkVersion="10"
- android:targetSdkVersion="15" />
- <uses-permission android:name="android.permission.INTERNET" />
- <application
- android:allowBackup="true"
- android:icon="@drawable/ic_launcher"
- android:label="@string/app_name"
- android:theme="@style/AppTheme" >
- <activity
- android:name="com.genwoxue.webview.MainActivity"
- android:label="@string/app_name" >
- <intent-filter>
- <action android:name="android.intent.action.MAIN" />
- <category android:name="android.intent.category.LAUNCHER" />
- </intent-filter>
- </activity>
- </application>
- </manifest>
注意:由于访问网络,需要在AndroidManifest.xml文件中添加权限:
<uses-permission android:name="android.permission.INTERNET" />
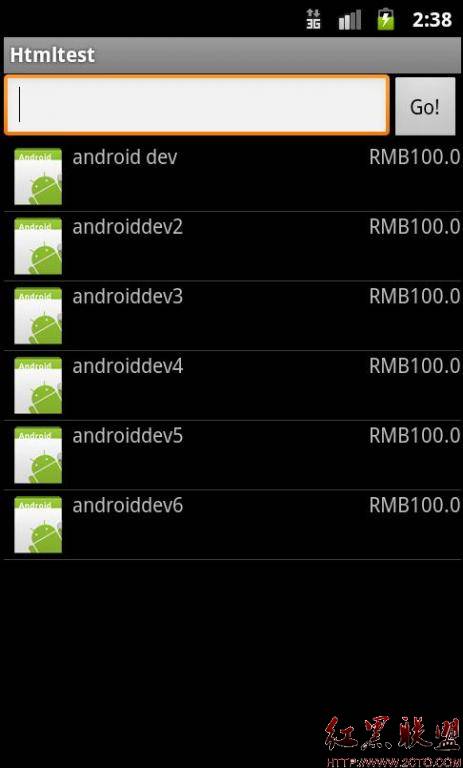
四、运行结果

相关文章
图文推荐


- 文章
- 推荐
- 热门新闻